How to Make Your Own Fermented Hot Sauce at Home (Step-by-Step Guide)
What Makes Fermented Hot Sauce Different from Regular Hot Sauce
Fermented hot sauce develops its flavor through lacto-fermentation — a natural process where lactic acid bacteria convert sugars into lactic acid, creating a tangy, complex depth that cooked or vinegar-based sauces simply can't replicate. The result is a living condiment with layered umami notes that taste like they took months to develop, even though the process takes less than two weeks.
Most commercial hot sauces are either cooked down (which kills microbial activity) or preserved with added vinegar. Both methods are fast, but they flatten flavor. Fermentation does the opposite — it builds it. The slow acidification softens the raw bite of chili peppers while amplifying fruity, savory, and floral notes that were always there but needed time to emerge.
There's also a textural difference. Fermented mash has a rounder, almost creamy quality when blended, partly because the cell walls of the peppers break down gradually rather than collapsing under heat. If you've ever tasted a sauce and thought "what is that?" — that depth is usually fermentation at work.
Ingredients You'll Need to Get Started
The core ingredient list for fermented hot sauce is short: fresh chili peppers, non-iodized salt, and water. That's it for a basic ferment. Everything else is optional, but the right additions can take a simple brine into something remarkable.
- Chili peppers — 500g to 1kg, stems removed (mix varieties freely)
- Non-iodized salt — sea salt, kosher salt, or pickling salt (iodized salt inhibits beneficial bacteria)
- Filtered or dechlorinated water — chlorine in tap water can also disrupt fermentation
- Optional aromatics — garlic cloves, onion, ginger, carrot, or fresh herbs
- Optional fruit — mango, pineapple, or peach for sweetness and complexity
The salt-to-water ratio (your brine percentage) is the most critical variable. For hot sauce ferments, a 2–3% brine by weight is the standard range. At 2%, fermentation is faster and the flavor is brighter. At 3%, the process slows slightly, which can develop more nuanced flavor — and gives you a wider safety margin against unwanted organisms. A kitchen scale is more reliable than measuring spoons here.
To make a 2% brine: dissolve 20g of salt in 1 liter of water. Simple, repeatable, and effective.
Choosing the Right Peppers for Your Ferment
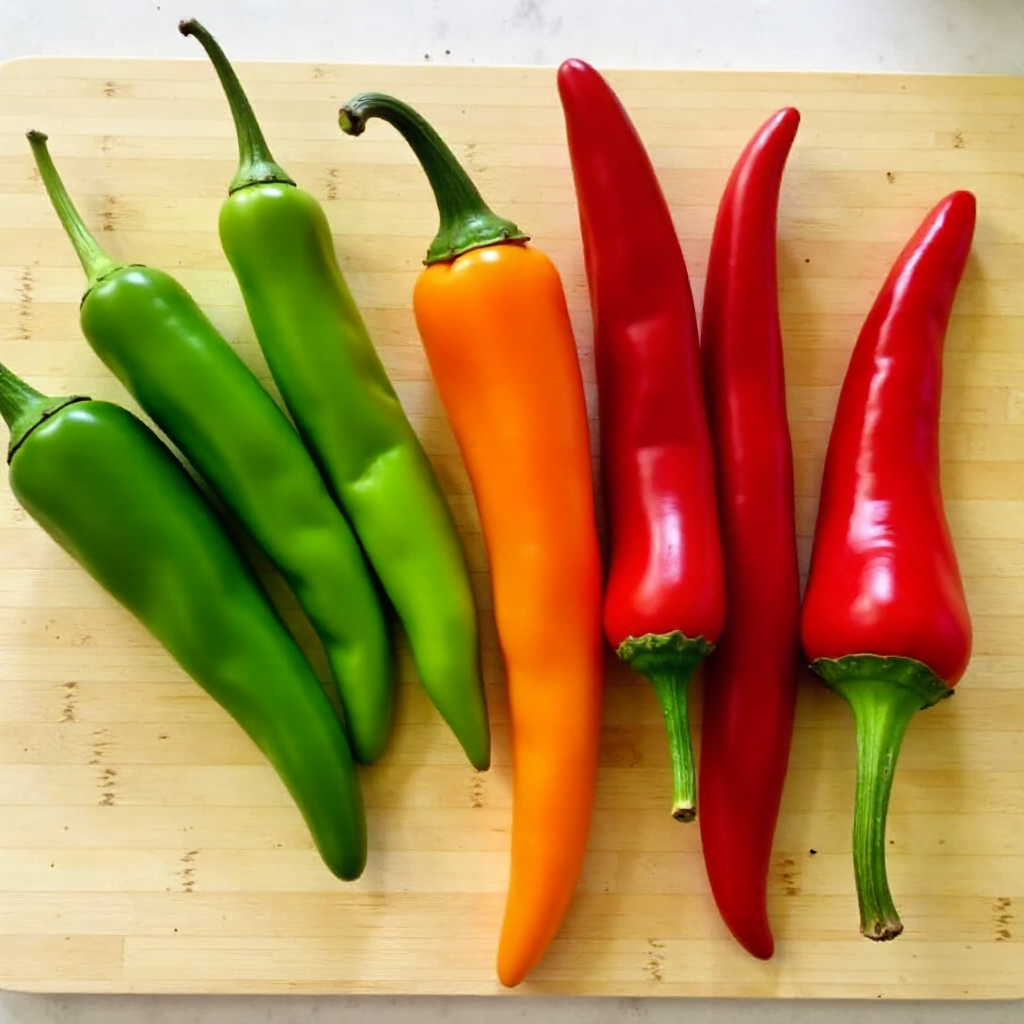
Almost any fresh chili pepper ferments well, but your choice of variety shapes everything — heat level, color, and the final flavor profile of your sauce. The best approach is to match the pepper to the experience you want, not just the heat you can tolerate.
Jalapeños are the most forgiving starting point. They're widely available, have moderate heat (2,500–8,000 Scoville units), and ferment into a grassy, slightly smoky sauce with good body. Fresno chilis are a close cousin — slightly fruitier and often more consistent in heat.
Habaneros bring serious heat (100,000–350,000 Scoville units) along with a distinctive floral, almost apricot-like aroma. Fermentation mellows their raw aggression without losing that signature fruity character. Pair them with mango or carrot to balance the intensity.
For deep red color and a slightly sweet baseline, red Fresnos or ripe cayennes work beautifully. Green ferments (unripe jalapeños, serrano peppers) produce a sharper, more herbaceous sauce. Neither is wrong — they're just different tools.
One practical note: always use the freshest peppers you can find. Soft, aging peppers introduce mold risk and produce a muddier flavor. If you're sourcing from a farmers market at peak season, you're already ahead.
How to Set Up Your Fermentation Vessel
Setting up your fermentation vessel correctly creates the anaerobic environment that lactic acid bacteria need to thrive — and that keeps unwanted molds and yeasts out. The good news: a wide-mouth mason jar is all you need to get started.
Preparing the Brine and Packing the Jar
Start by roughly chopping your peppers and any aromatics. You don't need precision here — chunks work fine since everything gets blended later. Pack them firmly into your clean mason jar, leaving about 2 inches of headspace at the top.
Pour your pre-mixed brine over the packed peppers until they're fully submerged. This is the step most beginners get wrong: any pepper above the brine line is exposed to oxygen, which invites mold. Use a small zip-lock bag filled with extra brine as a weight, or a dedicated fermentation weight, to keep everything submerged.
Sealing and the Airlock Question
As fermentation progresses, carbon dioxide builds up inside the jar. You have two options for managing this:
- Airlock lid — a purpose-built fermentation lid that lets CO₂ escape without letting oxygen in. Ideal for longer ferments or warmer kitchens.
- Loose lid method — simply screw the mason jar lid on loosely so gas can escape. Requires you to "burp" the jar once or twice daily by briefly opening it. Works perfectly well for 5–14 day ferments.
Place the jar at room temperature, away from direct sunlight. A spot between 65–75°F (18–24°C) is ideal. Warmer temperatures speed fermentation; cooler ones slow it down and often produce more nuanced flavor.
The Fermentation Process — What to Expect Day by Day
A typical fermented hot sauce takes 5 to 14 days at room temperature, and the process looks different at each stage. Knowing what's normal prevents unnecessary worry — and helps you catch actual problems early.
Days 1–2: Not much visible activity. The brine may look clear. The bacteria are establishing themselves and beginning to acidify the environment. This is normal — don't panic and don't open the jar repeatedly.
Days 3–5: Bubbling begins. You'll see small bubbles rising through the brine, and the liquid will start to turn cloudy. This cloudiness is a good sign — it indicates active lactic acid bacteria at work. The brine may also develop a slightly sour, tangy smell. That's exactly what you want.
Days 6–10: Peak fermentation activity. Bubbling may be vigorous, the brine will be noticeably cloudy, and the sour aroma intensifies. Taste a small amount — if it's tangy and pleasantly sour, you're on track.
Days 10–14: Activity slows as the environment becomes too acidic for competing organisms. The pH level has dropped (typically to 3.5 or below), and the ferment is stable. At this point, you can blend immediately or let it continue developing for up to 3–4 weeks if you prefer a more complex, funky profile.
Warning Signs to Watch For
White film on the surface (kahm yeast) is common and mostly harmless — skim it off and continue. Fuzzy mold in colors like green, black, or pink is a different story. If you see fuzzy mold, the batch should be discarded. A sulfurous or putrid smell (distinct from pleasantly sour) is also a sign something went wrong, usually from peppers that weren't fully submerged.
Blending, Straining, and Bottling Your Finished Sauce
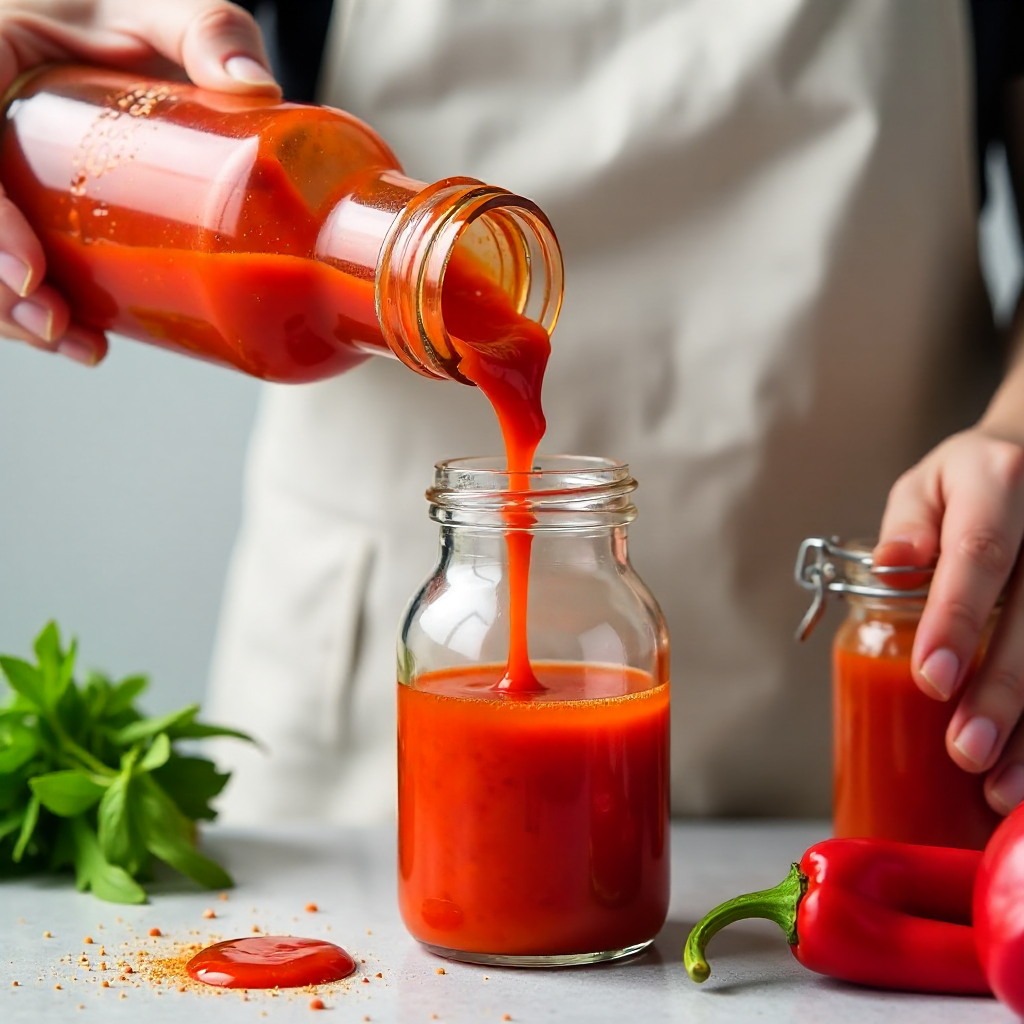
Once fermentation is complete, turning your fermented mash into a pourable sauce takes about 15 minutes. Transfer the peppers and brine into a blender and process until smooth — start with all the brine, then add more if you want a thinner consistency.
For a smooth, restaurant-style sauce, strain through a fine-mesh sieve or cheesecloth. For a chunkier, more rustic texture, skip the straining or use a coarser sieve. Neither is wrong — it's a personal preference.
At this stage, taste and adjust. A splash of apple cider vinegar can brighten the flavor and extend shelf life. A pinch of extra salt can sharpen everything. Some makers add a small amount of honey or agave to balance heat. Go slowly — the fermented base is already acidic, so additions have an amplified effect.
Bottle the finished sauce in clean glass bottles or jars. Store in the refrigerator, where fermentation essentially halts and the sauce remains stable. The cold environment preserves the flavor profile you worked to develop.
Tips for Customizing Your Fermented Hot Sauce
The basic ferment is a canvas. Once you're comfortable with the process, small adjustments create dramatically different results — and this is where sauce-making becomes genuinely creative.
Add fruit early (before fermentation) for deeper integration. Mango with habanero, pineapple with jalapeño, or peach with fresno are all proven combinations. The fruit sugars ferment alongside the peppers, weaving sweetness into the acidity rather than sitting on top of it.
Garlic is almost universally welcome — 3 to 6 cloves per 500g of peppers adds savory depth without overpowering. Fermented garlic loses its sharp raw bite and becomes mellow, almost buttery. Ginger adds warmth and works especially well in Southeast Asian-inspired profiles.
For a smokier result, substitute 20–30% of your fresh peppers with rehydrated dried chipotles or anchos. They won't ferment the same way (dried peppers contribute differently), but the combination adds a roasted, earthy dimension.
If you want to explore further, the National Center for Home Food Preservation offers detailed guidance on fermented and pickled products, including acidity safety benchmarks that are useful for anyone getting serious about home fermentation.
Frequently Asked Questions
How long does fermented hot sauce last in the fridge?
Properly fermented hot sauce stored in the refrigerator typically lasts 6 months to 1 year. The acidity acts as a natural preservative. If you added vinegar before bottling, the shelf life extends toward the longer end of that range. Always check for off smells or mold before using.
Why is my ferment bubbling — or not bubbling?
Bubbling means CO₂ is being produced, which confirms active lactic acid bacteria. No bubbling in the first 48 hours is normal. If there's still no activity by day 4, check your salt percentage (too much salt slows fermentation) and room temperature (below 60°F significantly slows the process).
Can I use iodized salt for fermentation?
It's better to avoid it. Iodine is added to table salt as an antimicrobial agent — which is exactly what you don't want when you're trying to cultivate beneficial bacteria. Non-iodized sea salt, kosher salt, or pickling salt are all reliable alternatives and widely available.
Is it normal for my brine to turn cloudy?
Yes, and it's actually a good sign. Cloudiness in the brine indicates lactic acid bacteria are active and multiplying. A clear brine after several days might mean fermentation is slow or stalled. Cloudy brine with a sour smell and visible bubbles is exactly what a healthy ferment looks like.
How do I know if my fermented hot sauce has gone bad?
Trust your senses. A healthy ferment smells sour, tangy, and peppery — funky in a good way. If the smell is putrid, sulfurous, or reminiscent of rotting vegetables rather than vinegar, discard it. Fuzzy mold (not white film) anywhere in the jar is also a clear sign to start over. When in doubt, throw it out — a failed batch costs a few dollars, not your health.